


Third Grade Art Lesson 9
Looking at Pottery, Part 2 Using Animals to Design the Surface of Our Pottery
Objective:
The student will complete their drawing by coloring in their animal designs. The student will mount the finished drawing on black paper.
Materials:
Last lesson's work, neutral color crayons (browns, blacks, grays, white, tans), scissors, glue sticks, black construction paper
Procedure:
We will complete our drawings by carefully filling in our designs using neutral colors only. Ask the class if anyone can name the neutral colors (brown, black, gray, white, tan). Look at your design and select your colors carefully. The most important part of your design should be done in the darker colors, i.e. browns and black. Use color to create or emphasize patterns in your design. Color solidly and no scribbling is allowed. Once they are finished coloring their design, have students cut out their pottery shape. Using a glue stick, mount the shape onto a black sheet of construction paper, being careful to center it properly.
Conclusion:
Display all the students' work for everyone to look at. Encourage the students to make positive comments about each other's work including the pottery shape, the design, and the use of color. Post for everyone in the school to enjoy.
Artwork and Examples used in this lesson
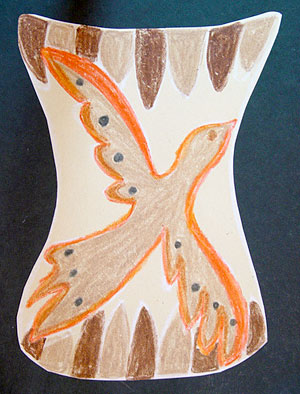
Teachers Example
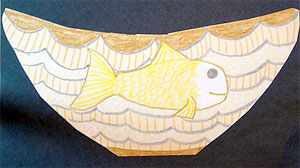
Student Artwork
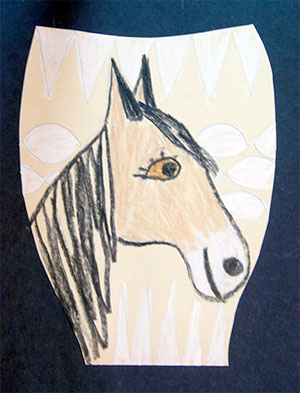
Student Artwork


Arttango © All Rights Reserved 2013. All logos and images used on this site are the property of the rightful owner