


Third Grade Art Lesson 25
Looking at Reflections, Part 2 Creating Reflections with Tempera Paint
Objective:
The student will complete the painting we began in our last lesson by putting cities, trees or boats on the edge of the water and making a reflection in the water by pressing the paint onto the water surface area.
Materials:
Tempera paint, a mixing pallet (a paper plate works well), a variety of brush sizes, water, the work from our last lesson
Procedure:
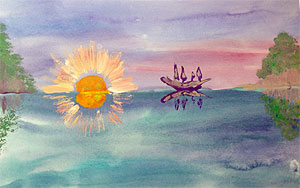
Today we will complete our reflections painting by painting details on the edge of the water and in front of the sky and then pressing the paint onto the water surface area. First, spend some time deciding what you want to paint. You may consider things like trees, buildings or, boats. Make sure you have a pretty good idea of what you want before you begin. Pour out a small amount of red, yellow, blue and white onto your pallet. The type of painting we are going to do is similar to impressionist painting. You will be painting with loose strokes and lots of color mixed right onto the paper. If you are going to paint trees, you will first want to paint off the trunks using lines. Mix two complimentary colors together (red and green, yellow and purple, or blue and orange) to get a neutral. Adding white will lighten the color. Dab your brush into the colors without mixing them into a single solid color. Paint as many lines as you want for trees. Fold your paper along the pre-folded line and press your fingers along the back of the paper. When you open the paper you will see a reflection of what you painted in the water. Next, use blue, green and yellow for the foliage. Again, dab your brush into each of the colors without mixing a solid color. Blot the paint in a way that indicates the leaves. Remember that the leaves should fill a large area around and above the tree trunk. Again, fold your paper over and press to make the reflection on the water. Continue this process until you have filled the horizon line with interesting details for us to look at.
Conclusion:
Mount the paintings on white poster board and have the students spend time looking at each painting. Encourage them to point out the positive things they find in each work. Suggest they look for the use of color both in the sky and water as well as in the objects painted and reflected in the water. Display the paintings in a prominent place in the school for everyone to enjoy.
Artwork and Examples used in this lesson
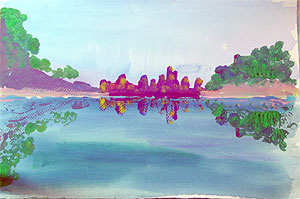
Teachers Example
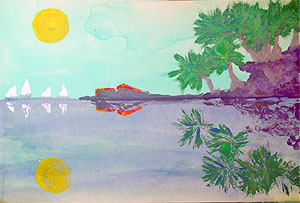
Student Artwork
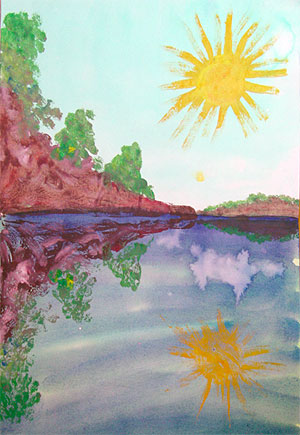
Student Artwork
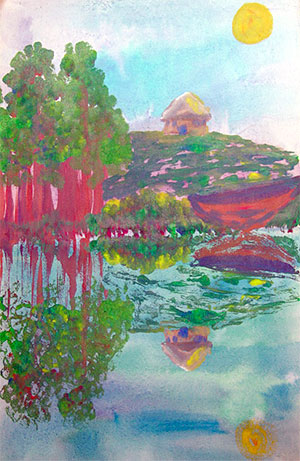
Student Artwork
Student Artwork


Arttango © All Rights Reserved 2013. All logos and images used on this site are the property of the rightful owner