


Second Grade Art Lesson 5
Coloring Fall Trees, Part 2 Water Coloring Our Background
Objective:
The students will know what the cool colors are and use them to complete the background of our fall tree drawings. The students will know what a watercolor resist is.
Materials:
drawing from last lesson, watercolor, medium to large size paint brush, water, paper towels
Procedure:
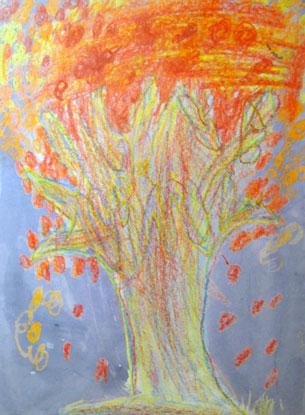
Ask the students to tell what color schemes we used last week on the trunk of our tree (primary), and what color scheme we used on our leaves (warm). Today we are going to use another color scheme called cool colors. The cool colors are blues, greens and violets. Today we will mix these colors to paint in our background. Who knows what the word resist means? Today we are going to do a watercolor resist which means the areas colored with the wax crayon will resist the paint and only the untreated paper will fill in with color. Begin by putting water into the top of your watercolor pan using your paint brush. Next load your brush with blue, mix it into the water spot, then add green, then purple. Do not stir the color but rather, use it as it comes off of the brush. Carefully pull the watercolor on your brush across the entire drawing. Notice how it will not stick to the crayon. Work your way over the painting until the entire background is covered. It is wise to work using more water than color at first and slowly build up with more saturated color. This allows you to get a greater range of values.
Conclusion:
Review all of the color schemes we have learned; primary, warm and cool. Have the children spend time looking at the finished work and point out things they like most about them. Ask them if they can explain why the watercolor did not mess up their drawing. (Water does not mix with wax.) Mount their work and display it for everyone to enjoy.
Artwork and Examples used in this lesson
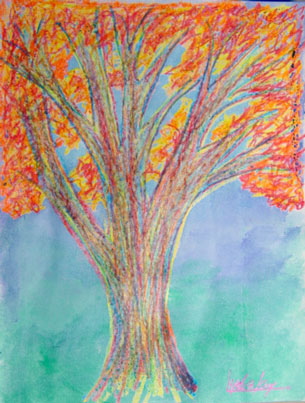
Teachers Example

Cool and Warm Colors
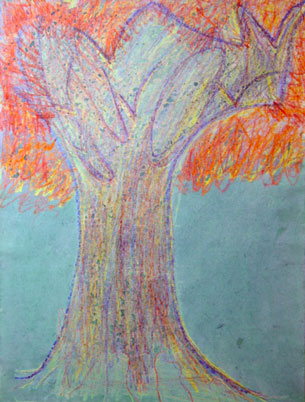
Student Artwork
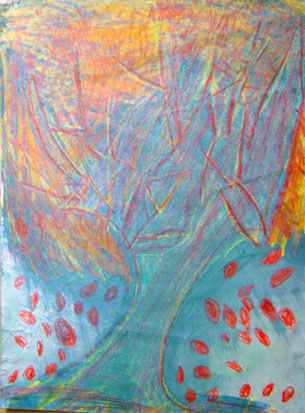
Student Artwork
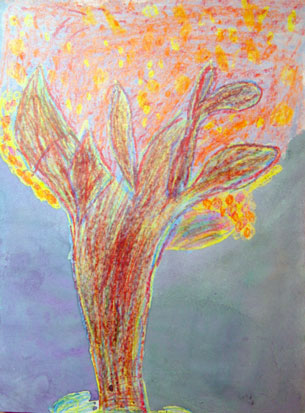
Student Artwork
Student Artwork


Arttango © All Rights Reserved 2013. All logos and images used on this site are the property of the rightful owner