


Second Grade Art Lesson 10
Making a Thankful Photomontage, Part 1
Objective:
The student will learn that a photomontage is an image created by using a variety of photographs cut and arranged to look like a single photograph. The students will contemplate things they are thankful for and search for images to represent each thing they are thankful for.
Materials:
magazines to cut pictures from, scissors, glue sticks and a sheet of construction paper to glue the pictures on
Procedure:
Begin the class by explaining that we are going to create a photomontage by using a variety of specially selected photographs. Define photomontage as a collection of individual photographs arranged to create an image that looks like a single picture. We will begin by first making a list of things that we are thankful for. List everything that you can think of that you consider to be special and important. Once your list is complete, look through magazines to find images that would represent each of the things on your list. Get all of your pictures together and carefully cut them out along the edges of the shape you want. Do your best cutting and remember to turn the paper not your scissors. When all of your images are cleanly cut, begin playing with them as you would a puzzle to work out ways to put them together. You may find that you need extra images to serve as background so that you can cover the entire paper. Remember that you want your pictures to be put together in a way that they look like one new photograph. Even if it is an impossible situation, you want them to look believable Once you have the best arrangement planned out, carefully begin gluing down your images, beginning with the ones in the background. Be sure to glue all of the edges down.
Conclusion:
Lay all of the photomontages on a table or on the floor so that everyone can see them. Have the class discuss which ones are most successful at creating a single image. Each student may want to present his or her own to the entire class to discuss the pictures they chose and what each one represents. Keep the works to use in next weeks lesson.
Artwork and Examples used in this lesson
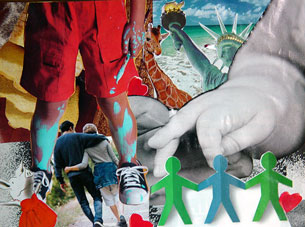
Teachers Example
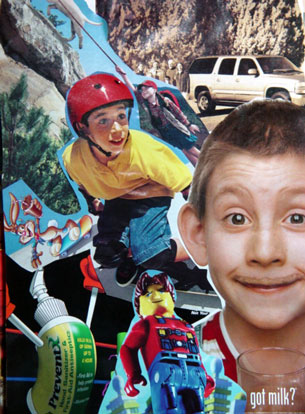
Student Artwork


Arttango © All Rights Reserved 2013. All logos and images used on this site are the property of the rightful owner