


Second Grade Art Lesson 1
Pattern People, Part 1
Objective:
The students will exhibit an understanding of pattern by drawing a picture of themselves onto a heavy sheet of paper, cutting it out, and tracing it several times onto a sheet of paper. They will fill in their clothes with patterns as well as the background.
Materials:
Heavy paper such as a file folder or poster board, pencil, scissors, 12 x 18 white drawing paper, markers
Procedure:
Begin the lesson by explaining that a self portrait is a picture an artist draws on him or her self. Today we are going to work on a full length self portrait (ourselves from head to toe). Give each student a piece of the heavy paper that is 12 in height. Explain that you want them to draw their portrait so that they are as tall as the paper is. It is important to explain that they have two lines for each of their legs and arms. Also, they may want to represent their hands as mittens rather than drawing each finger. This is because they will be cutting them out. Once they have drawn themselves off, have them cut their drawing out. Explain that they will be using this as a stencil to trace on the white paper. Show several examples of what they are going to be doing so they can see where they are going with this project. They might want to do one right-side-up, then the next one up-side-down and so on. Or they can do each of their figures right-side-up, one right next to the other across the paper. They will create a pattern by repeating the same image across the white paper. Once they have traced around themselves, filling up the entire paper, they are to design patterns for their clothing and the background. Discuss how they might come up with patterns by suggesting they first look around the room and find patterns on clothing, fabrics, books and other articles that have pattern. Encourage them to look closely and examine how the patterns are designed. Once they have made their plans, have them complete their clothing on the drawing with markers. (Other material could be used such as crayons or color pencils, but I have found that markers yield better results and allow the students to finish a little bit quicker. The problem is when the markers start to run out of ink. Try to begin this project using new packs of markers.)
Conclusion:
Discuss the words we have used in our class today such as stencil, self-portrait and pattern. Have the children explain what each word means and give examples whenever possible. Store their work in a safe, flat place so they can complete it next week.
Artwork and Examples used in this lesson
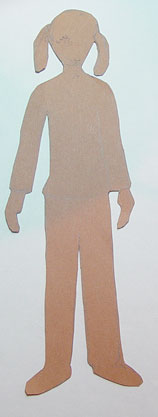
Teachers Pattern Example
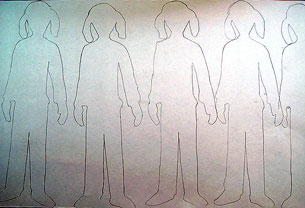
Teachers Pattern Example


Arttango © All Rights Reserved 2013. All logos and images used on this site are the property of the rightful owner