


Kindergarten Art Lesson 6
Creating Paper Mask
Objective:
The children will learn about how mask have been used throughout history for a wide variety of purposes. The children will create their own mask using paper and concentrate on the art elements line and shape. The students will use symmetrical balance to create their mask.
Materials:
Images of a variety of mask (available on the video), Various colors of construction paper and a scrap box if you keep one, scissors and glue sticks
Procedure:
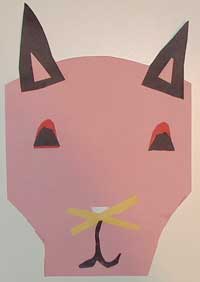
Begin by asking the children to tell you what a mask is and why they might wear one. Show the different mask, one at a time, and discuss how cultures throughout history have made mask for various reasons. Some mask are made for tribal rituals, some are made for protection and some are made for festivities. Point out the different types of shapes and lines used on each mask. Mask are typically made to make you look like someone or something other than yourself. Today we will make a paper mask to use simply as an art object and we will focus on the art elements shape and line to create it. Take a 8 x 12 piece of construction paper to use as a background (the main color) of your mask. Using scrap pieces or smaller sheets lets begin by cutting out the eyes. We want two shapes for the eyes (you may use more but need at least two). Look at the examples of the different shapes used for eyes. Have the children name different types of shapes they might cut out for their eyes. Encourage them to work large. Glue the eyes down when you have all of your pieces cut out. Next, think of either a shape or line you could use for a nose. Again, look at the examples for ideas. After you glue the nose down cut out a shape or line (or several lines) for a mouth and glue it down. Once you have your eyes, nose and mouth glued down, cut out a jaw line below and around the mouth. Then cut above the eyes for the forehead. Complete your mask by adding ears, eyebrows and hair or other decorative shapes to make it colorful and exciting.
Conclusion:
After you have finished the mask have the children find all the mask that have squares and point to them, next find circles, rectangles, triangle and lines helping them to focus on the specific art elements used to build the mask. Display and share the work for everyone to enjoy.
Artwork and Examples used in this lesson
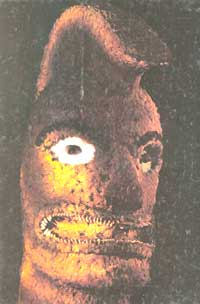
Example of Ancient Hawaiian Mask
Paper Mask
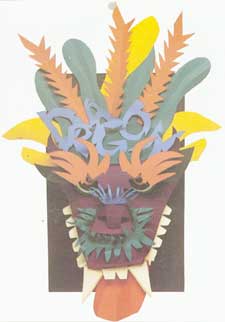
Teachers Example
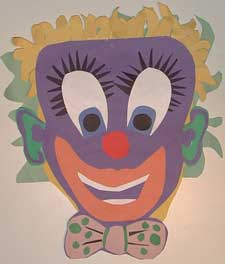
Student Example
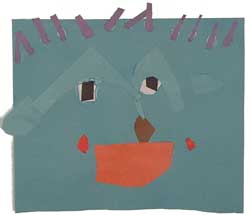
Student Example


Arttango © All Rights Reserved 2013. All logos and images used on this site are the property of the rightful owner