


Fourth Grade Art Lesson 9
Looking at Insects, Part 1 Drawing for Study
Objective:
The student will know what a variety of insects look like by doing studies (drawings) of them. The student will select one insect to draw off and color in on a large sheet of white paper.
Materials:
pictures of insects, pencils, white 12 X18 drawing paper, crayons
Procedure:
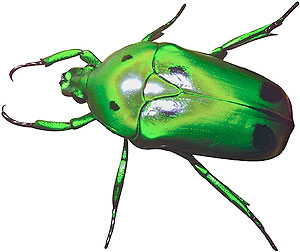
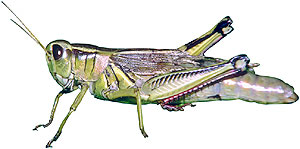
Today we are hopefully going to reinforce some things you have either already studied in fourth grade or something you will soon study in fourth grade and that is insects. Many fourth grade science programs cover information about these creepy crawlies and we are going to examine exactly what they look like and do a work of art about them. Let's begin by looking at the insects. Spend the first part of your class time looking closely at as many different types of insects as you have available. Perhaps you even have a collection of bugs pinned to a board. Look closely to see antennae, legs, feelers, body shapes and pay close attention to lines that distinguish the different parts of the insects. To make sure you really are familiar, I want you to do some scientific drawings. That is, copy the little critters as if you were copying the alphabet. Carefully follow along the designs showing every detail. Do as many of these as you have time for. Next, chose the insect you find most interesting. We will draw the insect super large (like we did with our leafs) onto our white paper. To help you get these critters larger than life, put a mark at the top of the paper indicating where the head is leaving room for antennae or feelers, and then put a mark indicating where the bottom of the bug would be. Then fill in between the marks with the details of the bug. Once you have the bug drawn off use your crayons to color it in. You are welcome to use your imagination with color. Do not feel you must be restricted to the actual colors of the insect, especially if it is a brown insect. Be as colorful as you can. Also, you may want to mix colors to get a richer looking finish. Be sure to press down hard and fill you insect solidly with wax.
Conclusion:
Today we have experienced one of the best ways to become familiar with something drawing it. When you have to draw something you are forced into looking carefully to the object or you will be unable to represent it accurately. Keep your drawings in a safe place and we will complete them in our next lesson.
Artwork and Examples used in this lesson
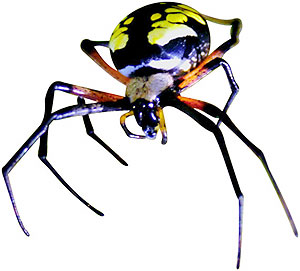
Insect Example
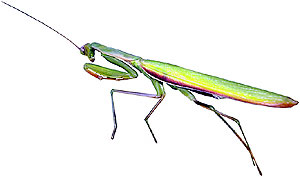
Insect Example

Insect Example
Insect Example
Insect Example
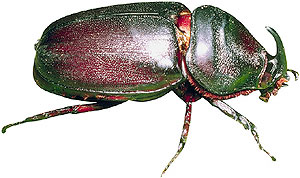
Insect Example
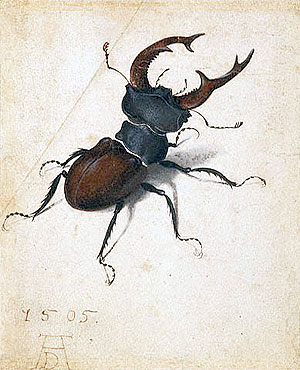
Albrecht-Durer(Stag-Beetle)
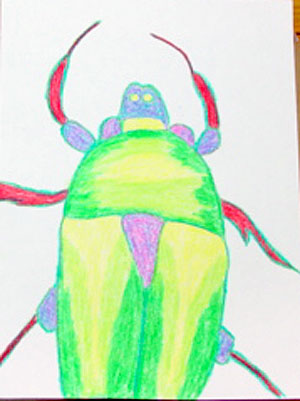
Teacher Example


Arttango © All Rights Reserved 2013. All logos and images used on this site are the property of the rightful owner