


Fourth Grade Art Lesson 15
Torn Paper Portraits, Part 2 Completing Our Portraits
Objective:
The student will finish their torn paper portraits by filling in the background. The students add any necessary detail to the completed work.
Materials:
work form last week, construction paper, white glue
Procedure:
Before you begin completing your work today, take some time and look at your work from a distance. Set it up against a wall and stand back from it. Look for the strengths so far in your work. Is your expression clear? Can you add any shapes to your portrait that might exaggerate or emphasize your expression? If so, do that first. Next, determine how much background space you have and decide what would look best to complement the work. If you have a small amount of space left, one solid color may be all you need. If you have enough area in the background still showing, you may need to design a pattern to fill it in and give it more interest. Whatever the case, attend to your work and make sure you fill the entire paper. Do not leave any area unfinished. Also, resist the temptation to start tearing pieces that are to large. Maintain your patience and keep your torn paper shapes relatively consistent in size.
Conclusion:
Have everyone put their work along a wall. Spend some time looking at all of the portraits and determine what expression is being represented. Discuss your observations with the class. Point out any strong features about any particular work. Decide for yourself what you like best about your work and what you would do differently if you were to do it over again. Mount your work on a poster board backing and display for the school to enjoy.
Artwork and Examples used in this lesson
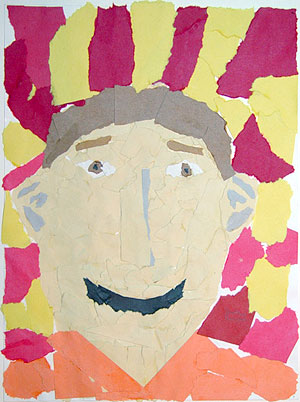
Student Artwork
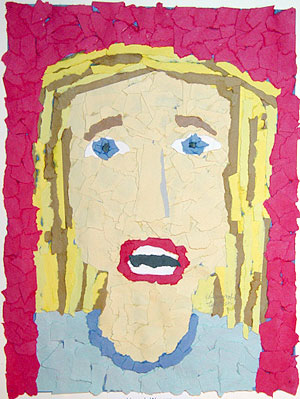
Student Artwork
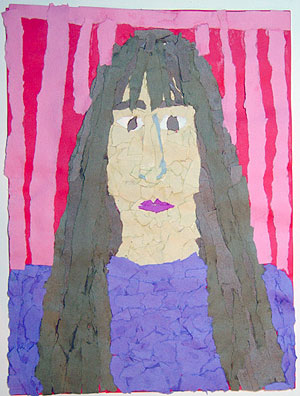
Student Artwork
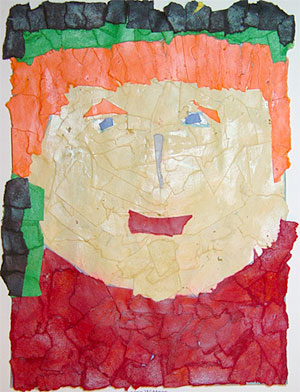
Student Artwork

Student Artwork


Arttango © All Rights Reserved 2013. All logos and images used on this site are the property of the rightful owner