


Fourth Grade Art Lesson 13
Looking at a Rose Window, Part 2 Filling in the Shapes with Color
Objective:
The student will complete their rose window designs by cutting out shapes of tissue paper to fill in the cut shapes with color.
Materials:
last lessons work, a variety of tissue paper colors, scissors, glue
Procedure:
Today we will complete our rose window designs by filling in the shapes we have cut with tissue paper shapes. Before you begin with the color, take your two black cut designs and hold them up to match the shapes as closely as possible. Put a small mark on the inside of each piece so that after you have the tissue in place you will be able to easily match up the black outer pieces sandwiching in the color tissue paper. Decide what colors you want to fill in each shape. You'll notice that typically there is four of each shape you cut. You may want each of the four shapes that are the same to be the same color. This is a decision you will need to make. Once you know what colors you want to use you may begin cutting out the shapes. You do not need to cut each piece of tissue paper so that it fits exactly the shape of the opening, but rather, determine if it is basically a square, circle, triangle or rectangle. Then cut out that shape and after drawing a line of glue around the edge of the shape on the black construction paper, simply place the tissue paper on top of the glue stick line. Continue this process until you have covered over all of the openings you have cut. Once every opening has color, match up the lines you made with your two black shapes and glue the two black pieces together to complete your rose window design
Conclusion:
Once you have completed your rose window you will be able to do others with greater skill. Knowing and experiencing the process naturally will enable you to do better work next time. I encourage you to make as many as you have time for. They make lovely gifts. Hanging your rose window in a window will allow light to pass through the tissue paper and will create a dynamic work.
Artwork and Examples used in this lesson
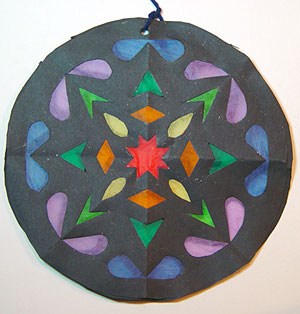
Teacher Example
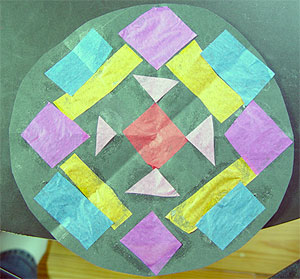
Back of Rose Window
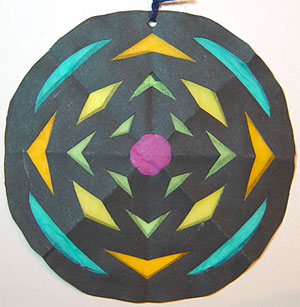
Student Artwork
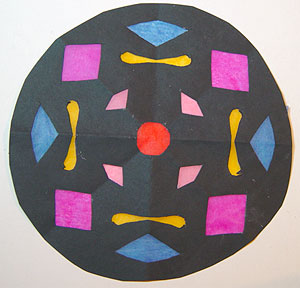
Student Artwork
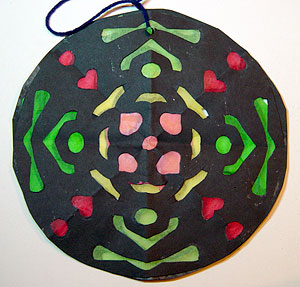
Student Artwork


Arttango © All Rights Reserved 2013. All logos and images used on this site are the property of the rightful owner