


Fifth Grade Art Lesson 14
Paper Designs, Cutting Out Snowflakes
Objective:
The student will learn to cut paper so as to create intricate designs.
Materials:
Several square sheets of white paper, scissors
Procedure:
Today we are going practice working with paper and scissors to create design. Have you ever seen a snowflake? Because no two snowflakes are exactly alike, they make wonderful subjects to begin the art of cutting paper. By simply folding our paper and making cuts into it, we can create fantastic radial designs. Begin by folding your paper in half and in half again. You'll notice that one edge of your triangle has four edges. One side has two edges, and has one fold. If you cut the entire length of the single-folded side your paper will fall apart into four pieces. Therefore, cut deep into the paper, but leave enough to hold the paper together. On the edge that has two folds, repeat the same procedure, cutting deeply into the paper with curves or swirls, but be sure to leave some paper to hold it together. The edge that has four single edges will be the perimeter of your snowflake. On this side you may cut an interesting design the full length of the edge. As you work on each edge, you may stop to unfold your paper and see how your design is coming along. If you have large areas of uncut paper, fold your paper again and make deeper cuts to create a more open design. You may have time to cut more than one, two, or even three snowflakes. The more you cut, the more beautiful your snowflakes will become.
Conclusion:
The art of paper cutting is an ancient one. Encourage your students to look it up on the internet to find other examples of this art form. Have each student hang their snowflakes on the ceiling over their desk.
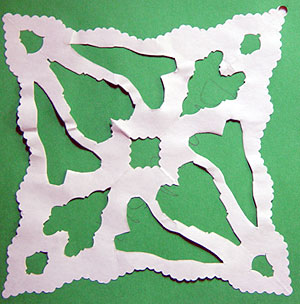
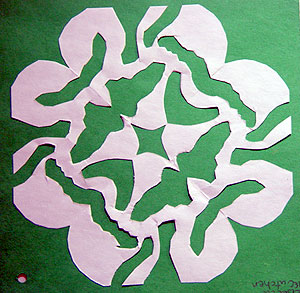
Artwork and Examples used in this lesson
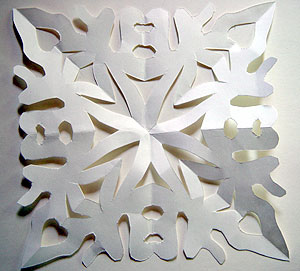
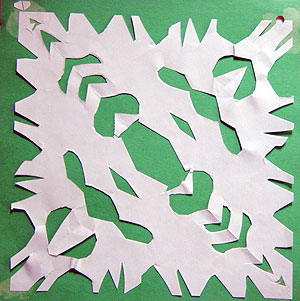
Teachers Example
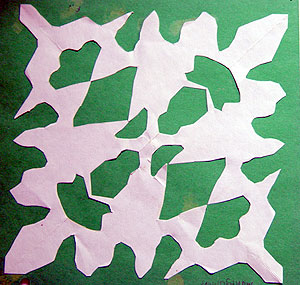
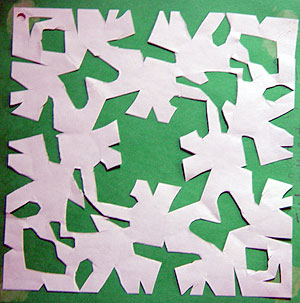
Student Artwork
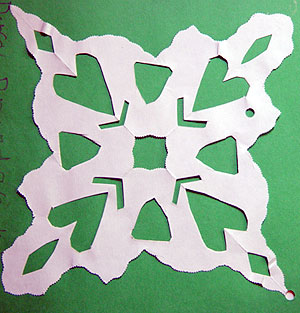
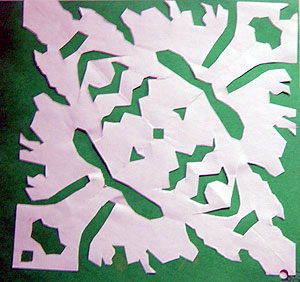
Student Artwork
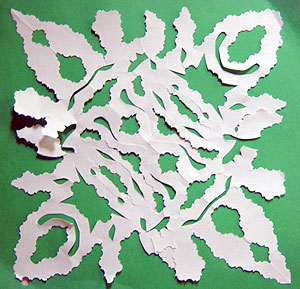
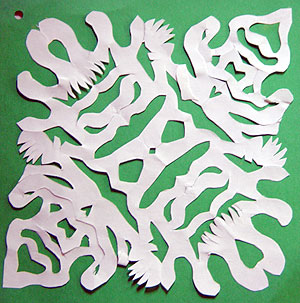
Student Artwork
Student Artwork
Student Artwork
Student Artwork
Student Artwork
Student Artwork
Student Artwork


Arttango © All Rights Reserved 2013. All logos and images used on this site are the property of the rightful owner